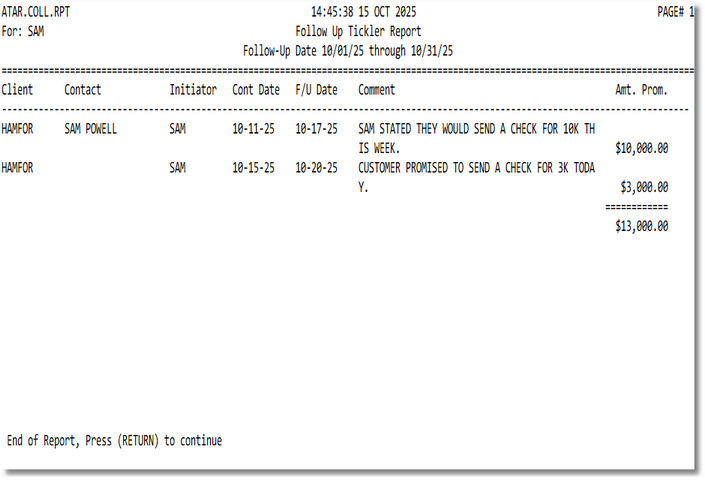
Overview
to see what the printed report looks like.
Prompts & Fields
- 1. Starting Date — Beginning of the date window for the report.
- 2. Ending Date — End of the date window for the report.
- 3. Client or (A)ll — Enter a client code to limit to one account, or A to include all.
- 4. (I)nitial or (F)ollow‑up Date — Choose I (initial) or F (follow‑up) as the selection basis.
Footer commands: Line# jump, Quit, Modify Print Setup, Print.
Print the Report — Steps
- Enter the Starting and Ending dates.
- Set Client or (A)ll to a specific account or A for portfolio‑wide.
- Choose I or F depending on whether you’re building a list from initial contacts or scheduled follow‑ups.
- Press M to adjust page orientation, printer, or file output as needed.
- Press P to Print the report.
Tips
- Run the report daily with Follow‑up Date to generate today’s call queue.
- Use with Collections Contact Entry to log outcomes and new follow‑ups.